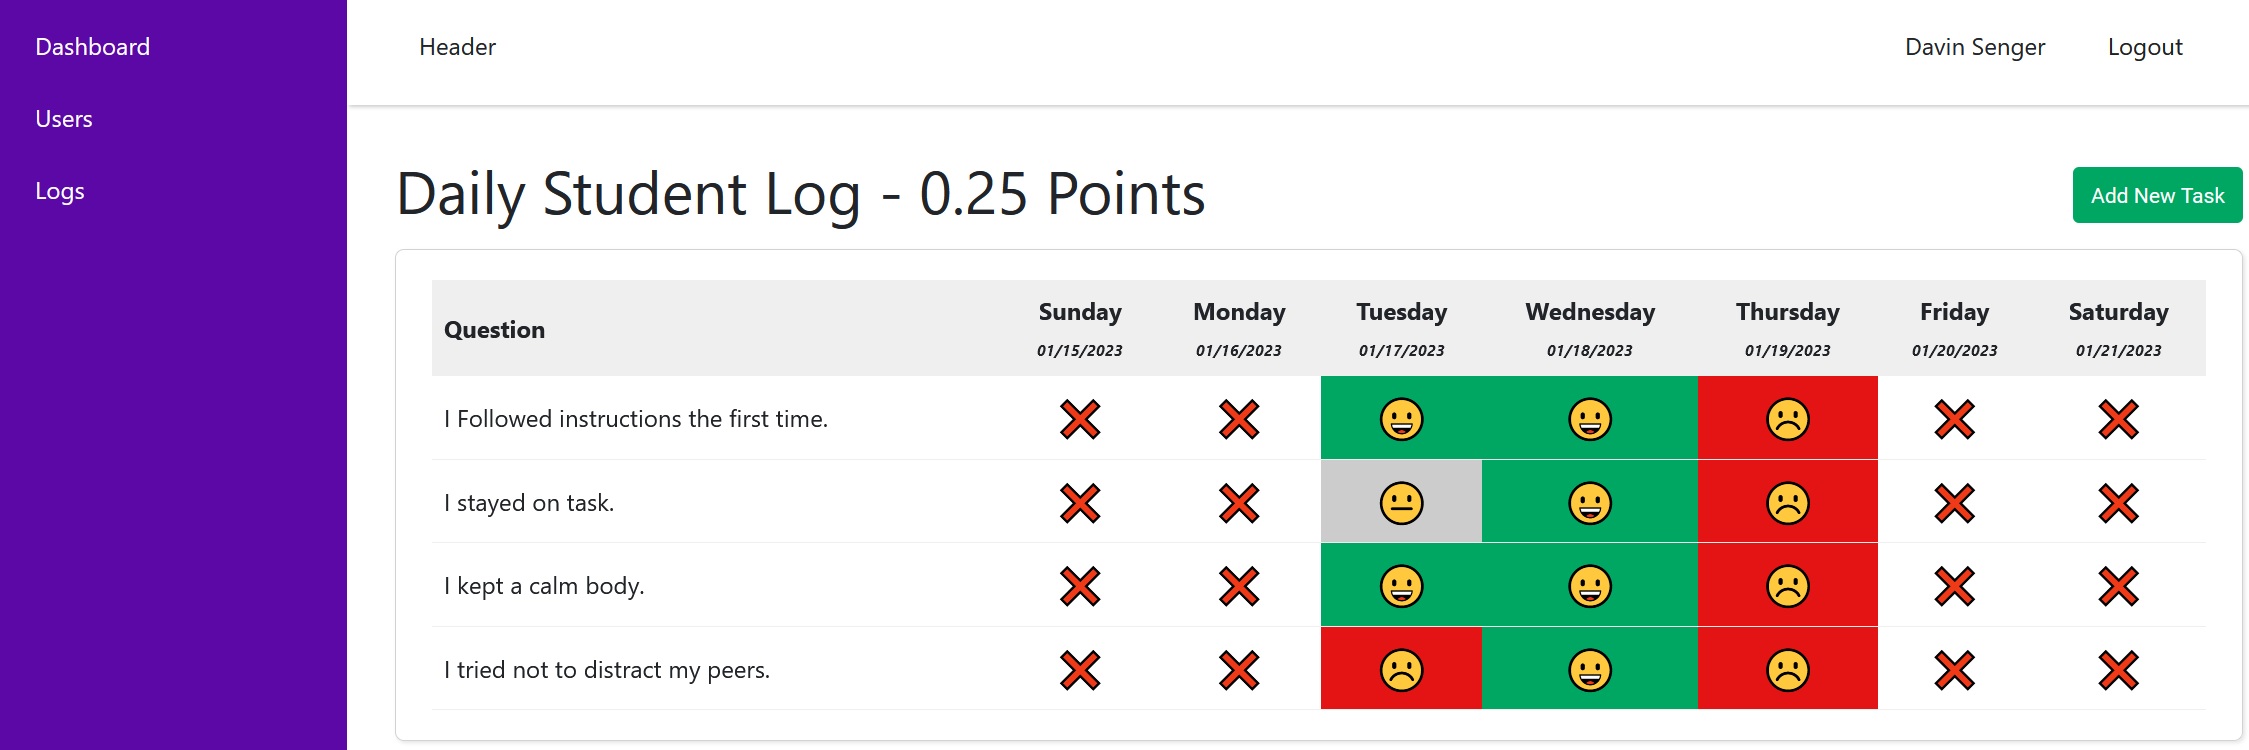
Deploy Full Stack App - BackEnd: GCP, Lavaravel, Hestia, API | FrontEnd: React, Cloudflare
This is a setup for a full stack application using BackEnd Google Cloud Platform VM Instance Free Tier with Hestia Control Panel and a FrontEnd React App hosting on CloudFlare Pages.
editorconfig .env
.env.example
.git/
.gitattributes
.gitign [5064], Last Updated: Mon Jun 24, 2024
dd
Thu Jan 19, 2023
0 Comments
2997 Visits
This is a setup for a full stack application using BackEnd Google Cloud Platform VM Instance Free Tier with Hestia Control Panel and a FrontEnd React App hosting on CloudFlare Pages.
BackEnd
These are the configurations for the Backend
- Google Cloud PlatformFree Tier - Create VM Instance
- Zone: us-west1-b
- Machine Configuration > Series: E2
- Machine Type: e2-micro(1 vCPU, 1GB Mem)
- Boot Disk:
- OS: Ubuntu
- Version: 20.04 TLS amd64 focal main built on 2022-04-19...
- Boot Disk Type: Standard Persistent disk
- Size: 30G
- Virtual Machine:
- Name [WHATEVER]
- Type: New balanced persistent disk
- Size 30 GB
- License Type: Free
- Image: Ubuntu 20.04 LTS Minimal
- Allow default access: Yes (checked)
- Firewall
- Allow default access: (checked)
- Allow https access: (checked)
- Advanced Options > > NEtworking > Network Service Tier: Standard
- GCP Newly Created Instance
- Note The Public IP Address. You will need it for the DNS Setting in the later steps.
- Create firewall Rule
- Name [WHATEVER]
- Action on Match
- Targets: All instances in the network
- Source Ip Rages: 0.0.0.0/0
- Protocols and Ports
- Specified protocols and ports: Yes
- tcp [8083] ( 8083 is the default port for Nestia)
- NOTE: if you are using CloudFlare, you must use port 2083. to change it, send this command:
- If you need to change it later, use these commands:
$ sudo su -# v-change-sys-port 208- * also make sure to change it in your firewall rules
- Domain Registar - Set DNS (CloudFlare for example). Steps 1 and 2 are only if its a new domain. For established domain and only add the sub domain, complete step 1 only.
- A Record
- Type: A
- Host: @
- Value: IP ADDRESS
- TTL: Automatic
- A Record (sub is from sub.domain.com)
- Type: A
- Host: sub
- Value: IP ADDRESS
- TTL: Automatic
- CNAME
- Type: CNAME
- Host: www
- Value: sub.domain.com
- TTL: Automatic
- A Record
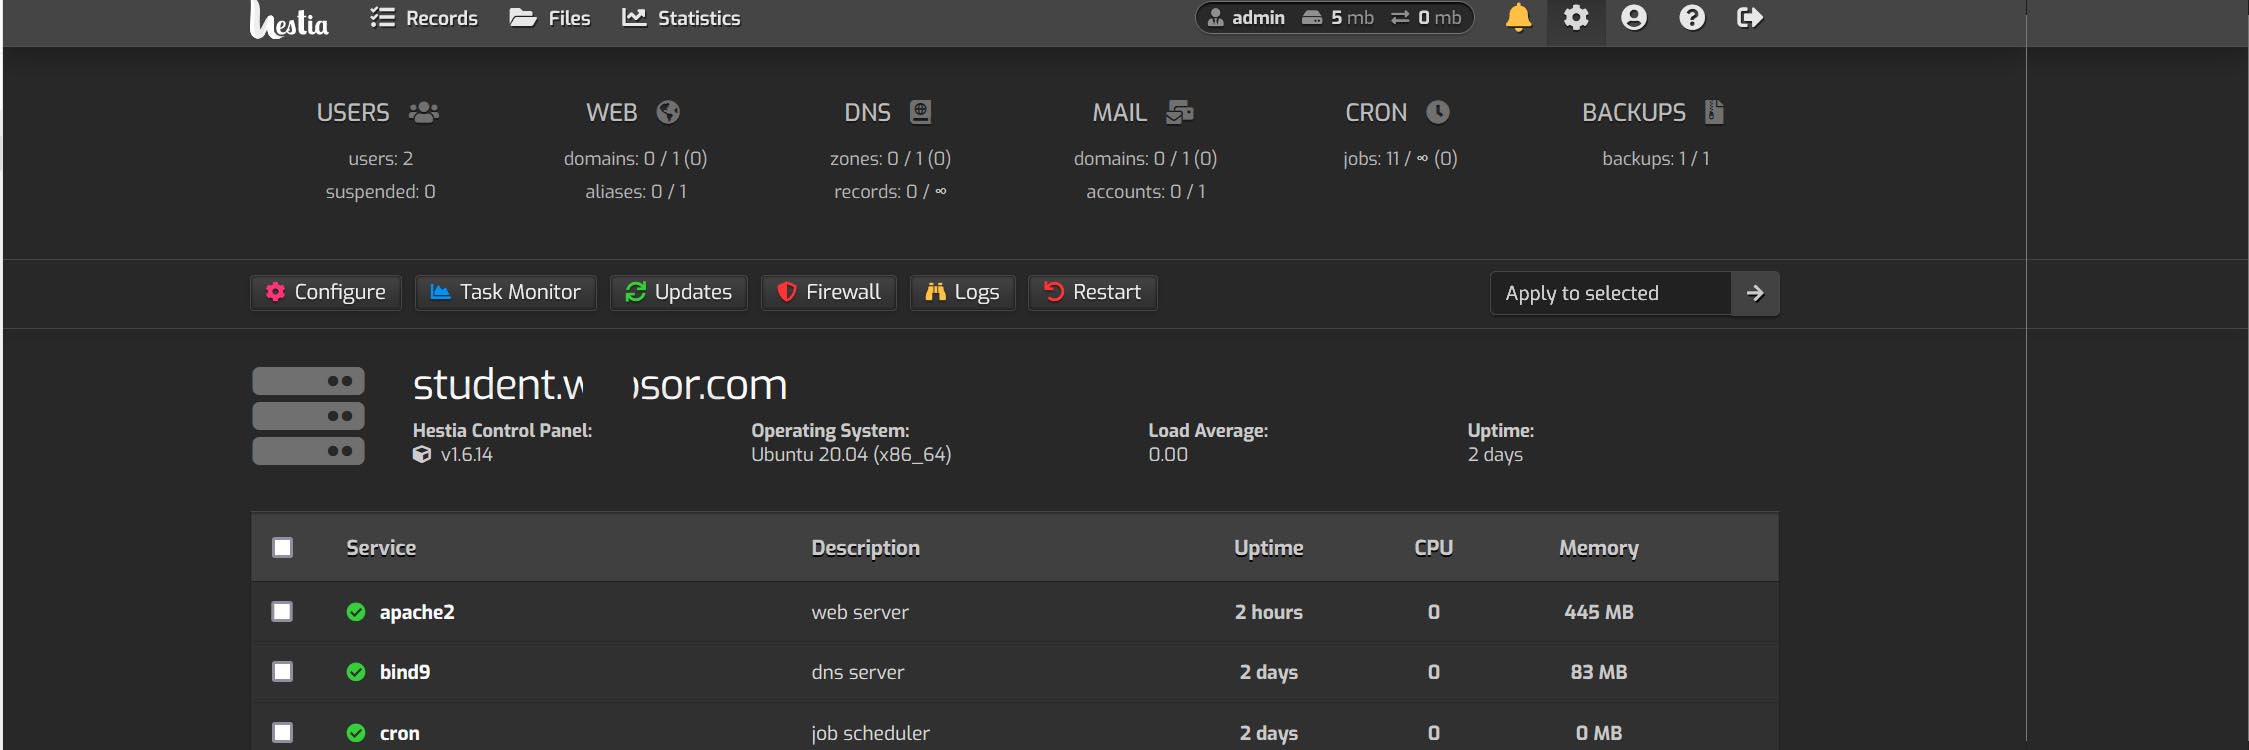
- Hestia Control Panel - https://hestiacp.com/
- Installation:
- Open SSH from GCP VM
- $
wget https://raw.githubusercontent.com/hestiacp/hestiacp/release/install/hst-install.sh - $
bash hst-install.sh --interactive no --email [email protected] --password MyPassword123 --hostname sub.domain.com -f - $
reboot - Open in browser: https://sub.domain.com:2083/login/
- default User: admin
- password: whatever you chose during the 3rd step above in the bash command
- Create A Non-Admin user.
- Add New Site
- Create new MySQl Database
- Update .env file in Laravel Project
- PHPMyAdmin: https://sub.domain.com/phpmyadmin/
- Installation:
- Setup Secured FTP with SSH and SCP to connect to GCP VM Instance
- Video: o_OQEydt3MI - How to connect (SSH) WinSCP to Google Cloud VM (sFTP)
- Download WinSCP: https://winscp.net/eng/download.php
- OPEN: G:\Program Files\winscp\PuTTY\puttygen.exe
- click [Generate] (Move the mouse to generate random)
- Key Comment: [ENTER YOUR USER: [email protected]]
- https://youtu.be/o_OQEydt3MI?t=139
- Key Passphase: GCP Account Pass
- Save Public Key: g_pub_key G:\Program Files\winscp\keys
- Save Private Key g_pri_key
- Copy "Public Key for pasting into OpenSSH authorized_keys file:" [long string]
ssh-rsa AAAAB3NzaC1yc2EAAAADAQABAAABAQDCwqqRyGUZcxlAIsfYMAo3GWiChwsyMglkhNHBEQX5g7Zz5l4xZ7/
E0NFvs0S4t4v6Tv2Em0mQAxdBdTaURjPUaLY+zKDevAXoMKmdVa1dSCauP+KX7uCOMWcL5rCaBm6cL9Ff5v2DFRP0K1q
9zKDnulJJ7nHMN++j75zpwY5Hc9jNsIjEhUSdpQHiiClXgG8yuxP+flNS7IICgp0dycXGBHYe8lXPblludn4ZW9NV/TQn
4b/Mg6es8lMnf7XO/2T6tpLtUFe55awLJzhZTQOO3as+DtluNtKt7q1akcYqMYdrg0kAzzYkyy/V1Lkvs3rh01BQN
zbwjUXL4pIlepyL [email protected] - go to CGP to the VM instance: https://console.cloud.google.com/compute/instances?project=[PROJECT NAME]
- EXAMPLE:https://console.cloud.google.com/compute/instancesDetail/zones/us-west1-b/instances/[INSTANCE NAME]?project=[PROJECT NAME]
- Click Edit
- Scroll down to SSH Keys
- Add SSH KEY click [ADD ITEM]
- Save
- OPEN WinSCP G:\Program Files\winscp
- New Site
- Hostname: External Ip
- User Name: example [DO NOT ENGER THE @gmail part]
- Password DONT ENTER YET
- Click [Advanced]
- GO TO > SSH > Authentication
- Private Key File:
- Select Private Key from Step 8
- Click OK
- Click SAVE
- Select the newly created site and click on Login button
- [searching for host]
- * BE SURE TO ENABLE PORT 22 in Firewall Rules
- Click Yes
- Enter Password when prompted
- Done
- Laravel API APP (example: /g/xampp8/htdocs/laravel/StudentTodo/laravel-react-student)
- .env
- APP_NAME=Laravel
APP_ENV=local
APP_KEY=base64:sWo0W/3EjLnvh6bVBTtakSV40z7S59MV7UVb9q1/LAs=
APP_DEBUG=true
APP_URL=https://sub.domain.com
- APP_NAME=Laravel
- Mysql:
- DB_CONNECTION=mysql
DB_HOST=127.0.0.1
DB_PORT=3306
DB_DATABASE=mydbname
DB_USERNAME=myuser
DB_PASSWORD=mypassword
- DB_CONNECTION=mysql
- Upload Laravel App to Server
- Upload All Files to the private folder in the hosting root folder: (example: /home/userName/web/private) Exept in Red are not necessary
- .editorconfig
- .env
- .env.example
- .git/
- .gitattributes
- .gitignore
- AddNewpage-api.sh*
- README.md
- app/
- artisan*
- bootstrap/
- composer.json
- composer.lock
- config/
- database/
- lang/
- package.json
- phpunit.xml
- public/
- react/
- resources/
- routes/
- storage/
- tests/
- vendor/
- vite.config.js
- public/ - Upload all the files in the public Folder to public_html
- index.php
- .htacess
- favicon.ico
- robots.txt
- Any other CSS or Javascript
- index.php
- Open index.php and change the require path to add the private folder, for example:
- Change FROM: __DIR__.'/../storage/framework/maintenance.php'
- Change TO: __DIR__.'/../private/laravel-react-student/storage/framework/maintenance.php'
- Change these three if they exists:
- storage/framework/maintenance.php
- vendor/autoload.php
- bootstrap/app.php
- cors.php (/web/sub.directory.com/private/laravel-react-student/config)
- Open cors php and add the React App Address fro the API and change accordingly, for example:
'allowed_origins' => ['https://myFrontEndApp.domain.com'],
- Open cors php and add the React App Address fro the API and change accordingly, for example:
- Upload All Files to the private folder in the hosting root folder: (example: /home/userName/web/private) Exept in Red are not necessary
- .env
Front End
- Create React App with Vite (example: /g/xampp8/htdocs/laravel/StudentTodo/laravel-react-student/react)
- .env
- VITE_API_BASE_URL=https://sub.domain.com
- Follow this tutorial for help: https://vitejs.dev/guide/static-deploy.html#cloudflare-pages
- Install Wrangler CLI
$ npm install -g wrangler
- Login to Cloudflare account from CLI
$ wrangler login
- Run your build command
$ npm run build
- Create new deployment
$ npx wrangler pages publish dist
- .env
- Login to your CloudFlare dashboard and go to pages, you will see the newly created project with the URL link.
- Done
Resources:
- G:\xampp8\htdocs\laravel\StudentTodo\laravel-react-student\
- https://vitejs.dev/guide/static-deploy.html#cloudflare-pages
- https://www.youtube.com/watch?v=dG55U27oSb4 - How To Deploy Laravel 8 Project | Deploy Laravel Through FileZilla | Laravel 8 Project Hosting
- https://www.youtube.com/watch?v=v46bRHR1Pq0 - Google Cloud Platform (Free Tier) WordPress Setup
- https://console.cloud.google.com/projectcreate
- https://hestiacp.com/
12/18/2023 - I stumbled upon a video where the root front end was received from:
qJq9ZMB2Was

